Set Up Hugo with Go

To build Hugo sites locally, install Homebrew and Hugo. You do not need to install Go to use Hugo as your static site generator. These instructions are for a Mac or Linux system, but you can also read the Windows installation instructions on the gohugo.io site.
Since Hugo is built on Go, you can use the binary for your operating system. No need to maintain a development environment. Upgrades are easy too, get a new binary and install it and you’re upgraded.
Prerequisites
- Windows, MacOS, or a Linux-based environment.
- On MacOS, you will install Homebrew.
- On Windows, you must install Docker.
- On Windows, you must install Git for Windows which includes Git Bash.
Set up Hugo on Windows with Git Bash and Docker
You can also set up Docker and then use this Docker image to install Hugo. With the Docker image, you set up alias commands for hugo running in Docker, but can work in Git Bash and follow this tutorial using the same hugo commands in Git Bash on Windows.
Set up Hugo on MacOS
- Install Homebrew. See the Homebrew site for instructions.
-
Use Homebrew to install Hugo.
$ brew install hugo -
Verify the
hugoinstallation by checking the version value.$ hugo version hugo v0.135.0+extended darwin/amd64 BuildDate=2024-09-27T13:17:08Z VendorInfo=brew
Starting a Hugo site
For a Hugo static site, you can choose your specific theme after you create the source files. The theme we’ll use in this tutorial is hugo-theme-relearn. To start a new site in the current folder, run:
   $ hugo new site docs-as-code
   $ cd docs-as-code
- Take a look at the files created in the directory with an
lscommand:$ ls -A archetypes content hugo.toml layouts themes assets data i18n static - Initialize the current directory as a Git repository, which will enable you to bring the theme in as a Git submodule.
$ git init Initialized empty Git repository in /Users/agentle/src/hugo-example/.git/ - Edit
hugo.tomlin any text editor you like to get started. Choose a title for your site and the theme, in our case,hugo-theme-relearn. (Find the installation documentation for the Relearn Theme here.) The theme name in your configuration file must match the name of the specific theme directory inside the/themesdirectory, so we will add those files in the next step.baseURL = "http://example.org/" languageCode = "en-us" title = "Learning Hugo Site" [module] [[module.imports]] path = 'github.com/McShelby/hugo-theme-relearn' - To get the theme files in the
/themesdirectory, and keep them updated, use agit submodulescommand to get the required theme files as well as keep them updated.$ hugo mod init example.comThe terminal returns something like this:
  go: creating new go.mod: module example.com
  go: to add module requirements and sums:
  go mod tidy
Next, add the theme as a Git submodule with this command:
$ git submodule add --depth 1 https://github.com/McShelby/hugo-theme-relearn.git themes/hugo-theme-relearn - For Hugo, the
contentfolder contains the site source content. For your home page, make an_index.mddocument in thecontentfolder and write it with Markdown content. Switch back up one level since you just cloned the theme files.$ cd .. $ hugo new --kind home _index.md Content "/Users/agentle/src/hugo-example/hugo-example/content/_index.md" created - Next, add a new chapter page using the
hugocommand,hugo new:$ hugo new --kind chapter get-started/_index.md /Users/agentle/src/hugo-example/content/get-started/_index.md created - You can keep adding files with the
hugo newcommand so that the Markdown files are pre-populated with the front matter such as:+++ archetype = "chapter" title = "Get Started" weight = 1 +++
Build a Hugo site locally
Once you’ve prepared your local system, you can build locally and review the site in your browser.
For Hugo, it’s important to know that draft pages, where draft = true is in the front matter, won’t be served.
-
Run the
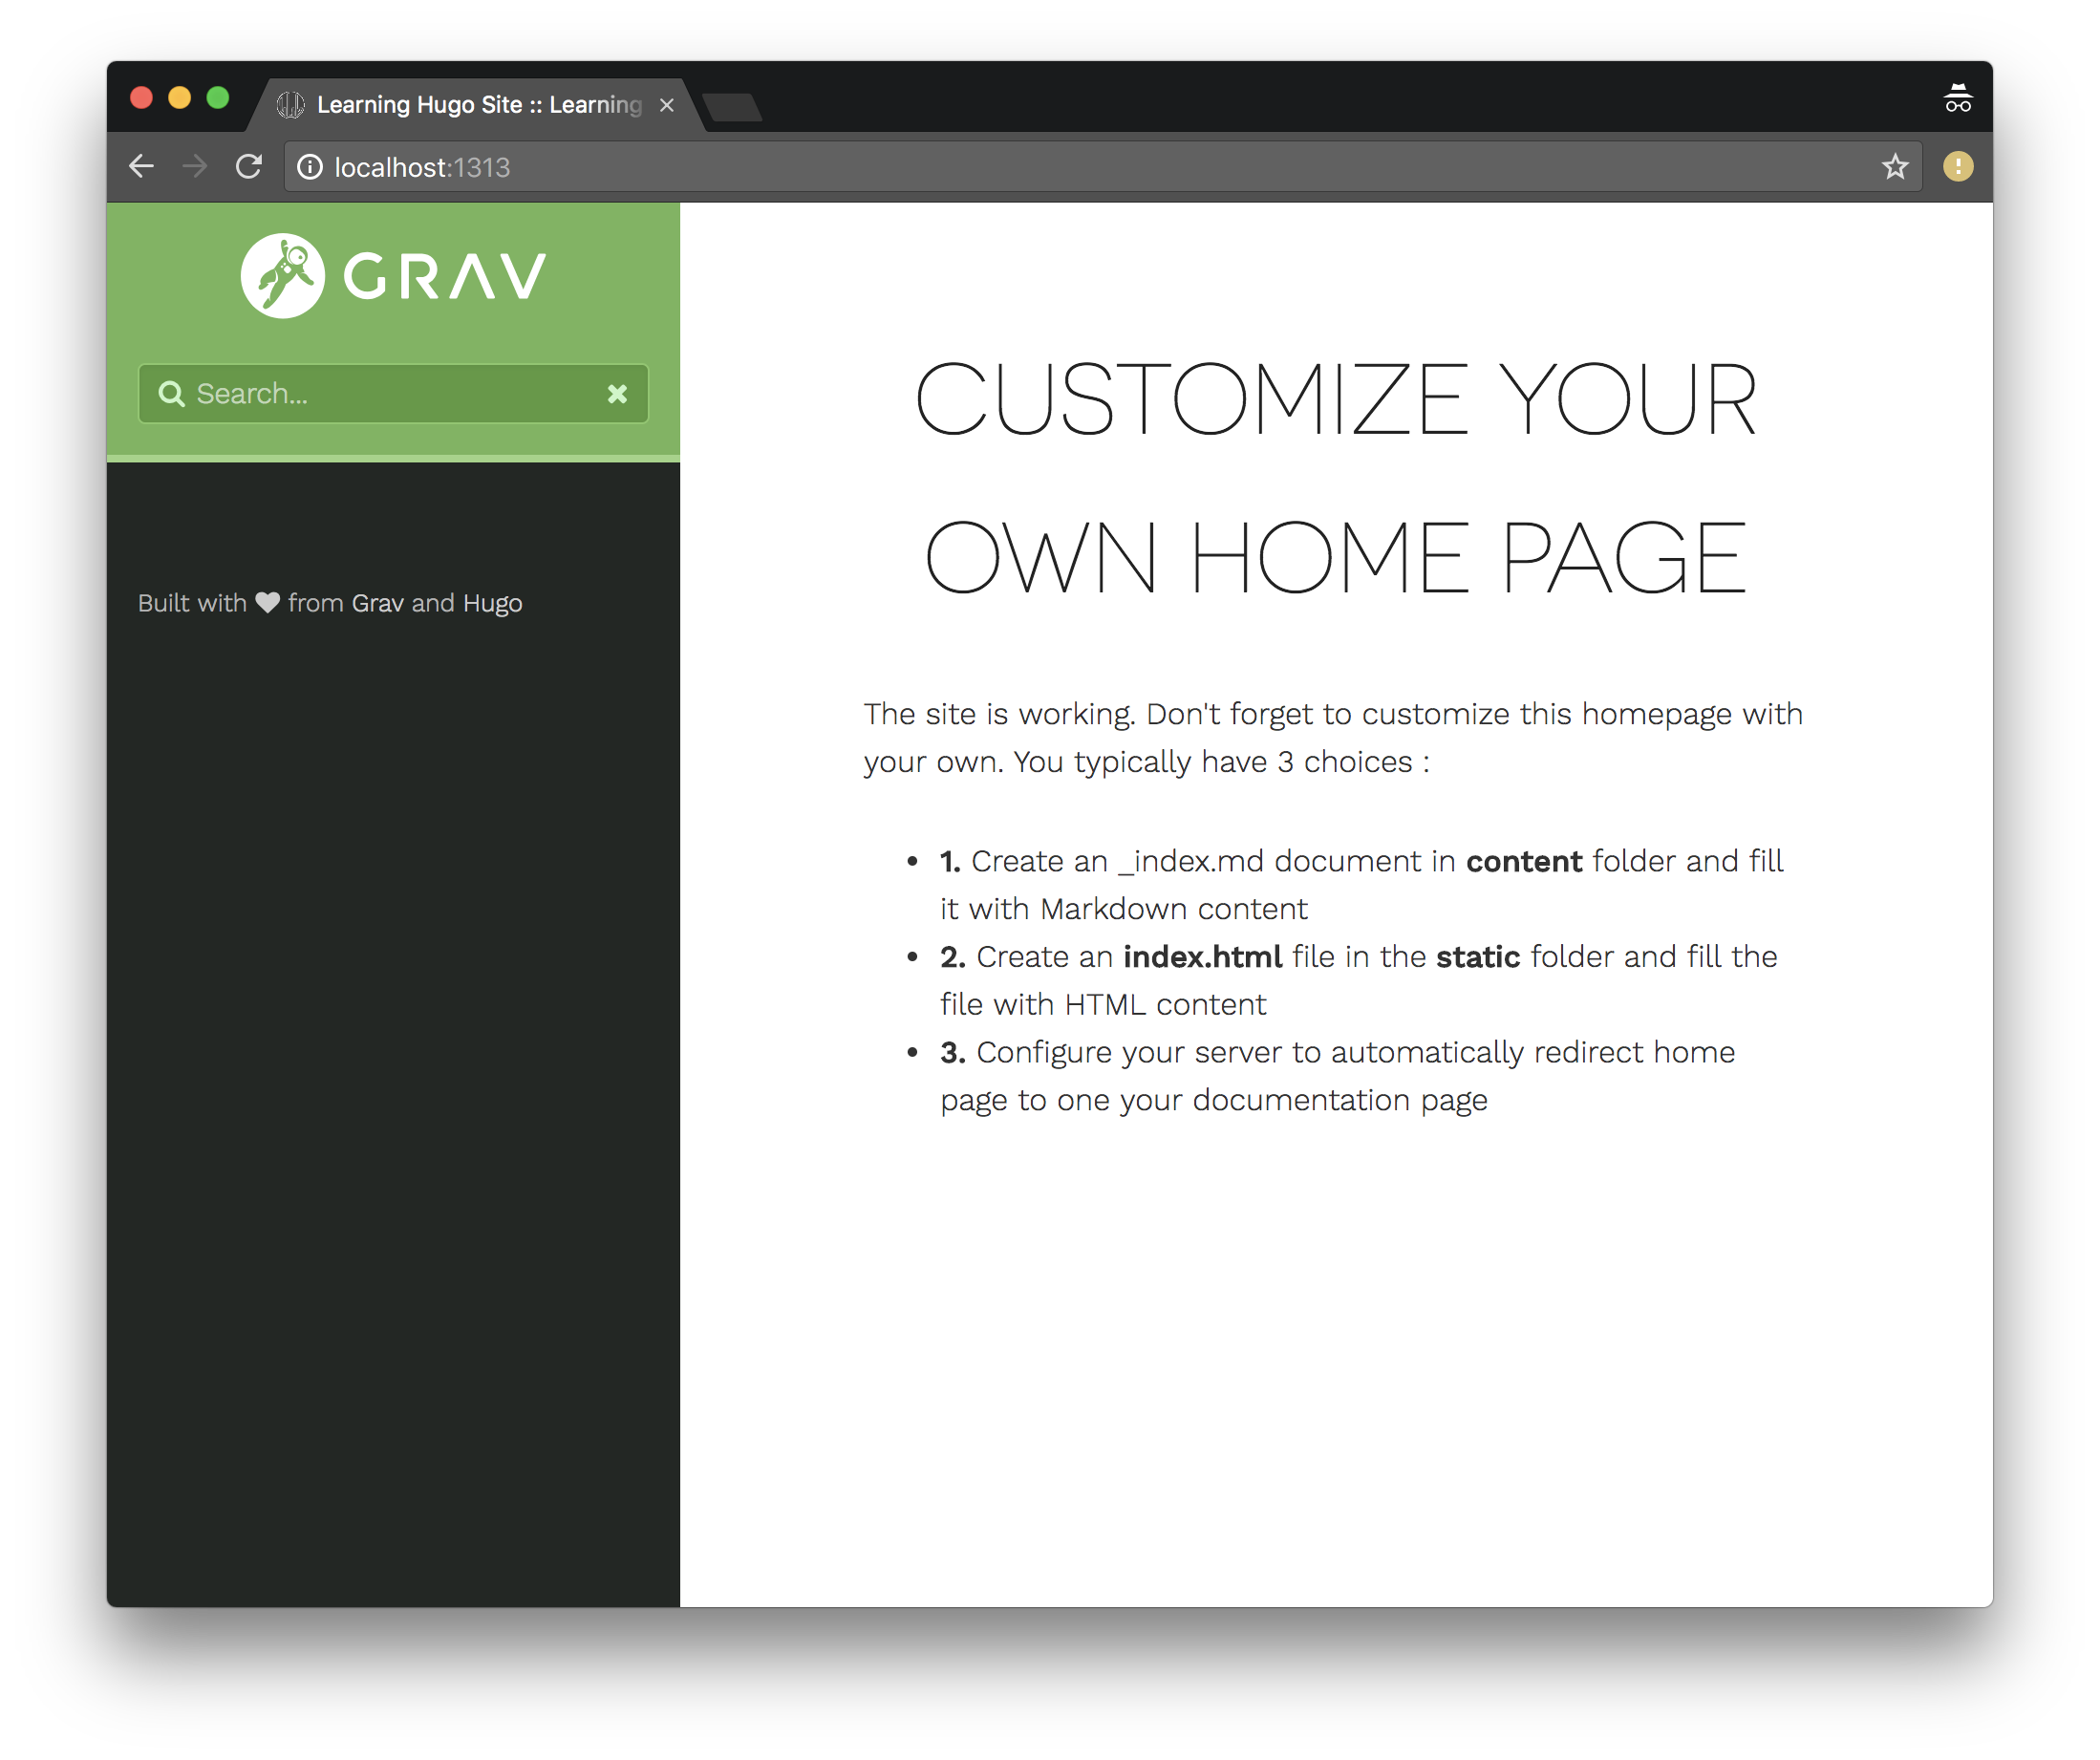
hugo server(orhugo serve) command to run a local server with your draft website.$ hugo server Watching for changes in /Users/agentle/src/hugo-learn/{archetypes,assets,content,data,i18n,layouts,static,themes} Watching for config changes in /Users/agentle/src/hugo-learn/hugo.toml, /Users/agentle/src/hugo-learn/themes/hugo-theme-relearn/hugo.toml, /Users/agentle/src/hugo-learn/go.mod Start building sites … hugo v0.135.0+extended darwin/amd64 BuildDate=2024-09-27T13:17:08Z VendorInfo=brew WARN deprecated: .Sites.First was deprecated in Hugo v0.127.0 and will be removed in a future release. Use .Sites.Default instead. WARN deprecated: .Site.IsMultiLingual was deprecated in Hugo v0.124.0 and will be removed in a future release. Use hugo.IsMultilingual instead. | EN -------------------+------ Pages | 11 Paginator pages | 0 Non-page files | 0 Static files | 182 Processed images | 0 Aliases | 0 Cleaned | 0 Built in 276 ms Environment: "development" Serving pages from disk Running in Fast Render Mode. For full rebuilds on change: hugo server --disableFastRender Web Server is available at http://localhost:1313/ (bind address 127.0.0.1) Press Ctrl+C to stop - Open the Web Server URL,
http://localhost:1313/in your local browser to view the site.
- Press
Ctrl+Cin the server terminal to stop the Hugo server. - You can add your files to a Git commit. Refer to Working with content in GitHub repositories for a documentation workflow with your Hugo site.
Modify the Hugo theme
The Hugo Theme “Relearn” has many ways to customize the theme, including activating print support and a dedicated search page. Refer to the Relearn theme documentation for details.
What’s next
- Working with content in GitHub repositories
- Continuous Deployment (CD) for Documentation Sites
- Set Up Automated Tests for Docs
Evaluating options
- Evaluating Static Site Generator themes
- Evaluating table layouts and formatting
- Evaluating Static Site Generator search options