Set Up Sphinx with Python

Sphinx works with either major versions of Python active today, Python 2 and Python 3. Python 3 is the current and recommended version, and Python 2 is an unsupported Python version. Sphinx is a documentation tool that creates HTML, CSS, and JavaScript files from ReStructured text files.
In case you need both versions, refer to the Downloads on the Python site.
Prerequisites
- MacOS or a Linux-based environment in which to install Python.
- Homebrew installed on MacOS. Get installation instructions from https://brew.sh/.
Installing Python 3.x
You want the latest version of Python 3 available.
-
Open a terminal and use
brewto install the latest Python 3.x (currently 3.7).brew install python
Verifying the Python installation
- Open a terminal.
-
Verify that Python 3 is correctly installed.
python -VExpected output for February 2020:
Python 3.7.6
Set Up Virtual Environment
Let’s ensure that you know how to create Python Virtual Environments for each version of Python. These Python Virtual Environments provide a method of creating isolated “environments” where you can work with specific versions of Python along with independent sets of libraries and dependencies.
Most people use Virtual Environments because it’s a recommended practice when working in Python to ensure a known starting point or state.
Python 3
-
First create a Python 3 virtual environment using the
venvmodule included with Python 3.python -m venv py3-sphinx -
Now “activate” the environment. Look for the name of the virtual environment enclosed in parenthesis after activation.
source py3-sphinx/bin/activate# Expected Output (py3-sphinx) $ -
Now verify that
pythonis now linked to Python 3.(py3-sphinx) $ python -V(py3-sphinx) $ Python 3.7.6
Install Sphinx in the Virtual Environment
-
With the virtual environment activated, install Sphinx.
(py3-sphinx) $ pip install sphinx -
To verify that Sphinx is installed, run the
sphinx-buildcommand with the--helpparameter.(py3-sphinx) $ sphinx-build --help
Create a Basic Sphinx Project
You can also get familiar with ReStructured text, a plain text markup syntax system that you use to write content in Sphinx documentation. Sphinx can also accept Markdown files.
- Create a new directory for your project:
(py3-sphinx) $ mkdir do-docs-as-code - With the virtual environment still activated, run
sphinx-quickstart, which creates a starting project for a Sphinx documentation project.$ sphinx-quickstart - Answer all the questions from the prompts.
You can choose enter to pick all the defaults and get a working project in the current directory (
.).Some notes for the context of this tutorial:
- If you create a working directory in your home directory, such as
~/src/, then you can use agit clonecommand in thesrcdirectory every time. For this tutorial, you can create a directory for your project, such as~/src/project-name-here. This directory becomes your root path. - You can either use a directory named
_buildwithin the root path, or have separatesourceandbuilddirectories, which is the default. To see an example directory structure with asourcedirectory, refer to this justwriteclick/rockthedocs-demo repo on GitHub. - When answering the questions, note that you can choose “githubpages set to yes” to create a
.nojekyllfile to publish the document on GitHub pages. In our case, though, our example builds to Read the Docs, so you can use the defaults throughout.
- If you create a working directory in your home directory, such as
- Once you have the basics answered, the script creates the necessary files and you can edit those to your liking.
- Create a couple of
.rstfiles and add skeleton information for starters.$ touch source/prerequisites.rst $ touch source/about.rst - Edit those new
.rstfiles in your favorite text editor. - Now, you can build the docs to see the changes locally. Run this command in the directory with the
conf.pyfile:$ make html - In your browser, open the
build/html/index.htmlfile to take a look at your Sphinx site locally. You can also look atbuild/html/prerequisites.htmlandbuild/html/about.htmlthough they won’t be linked to the main page until you add them as a link or in a table of contents entry. - Edit the
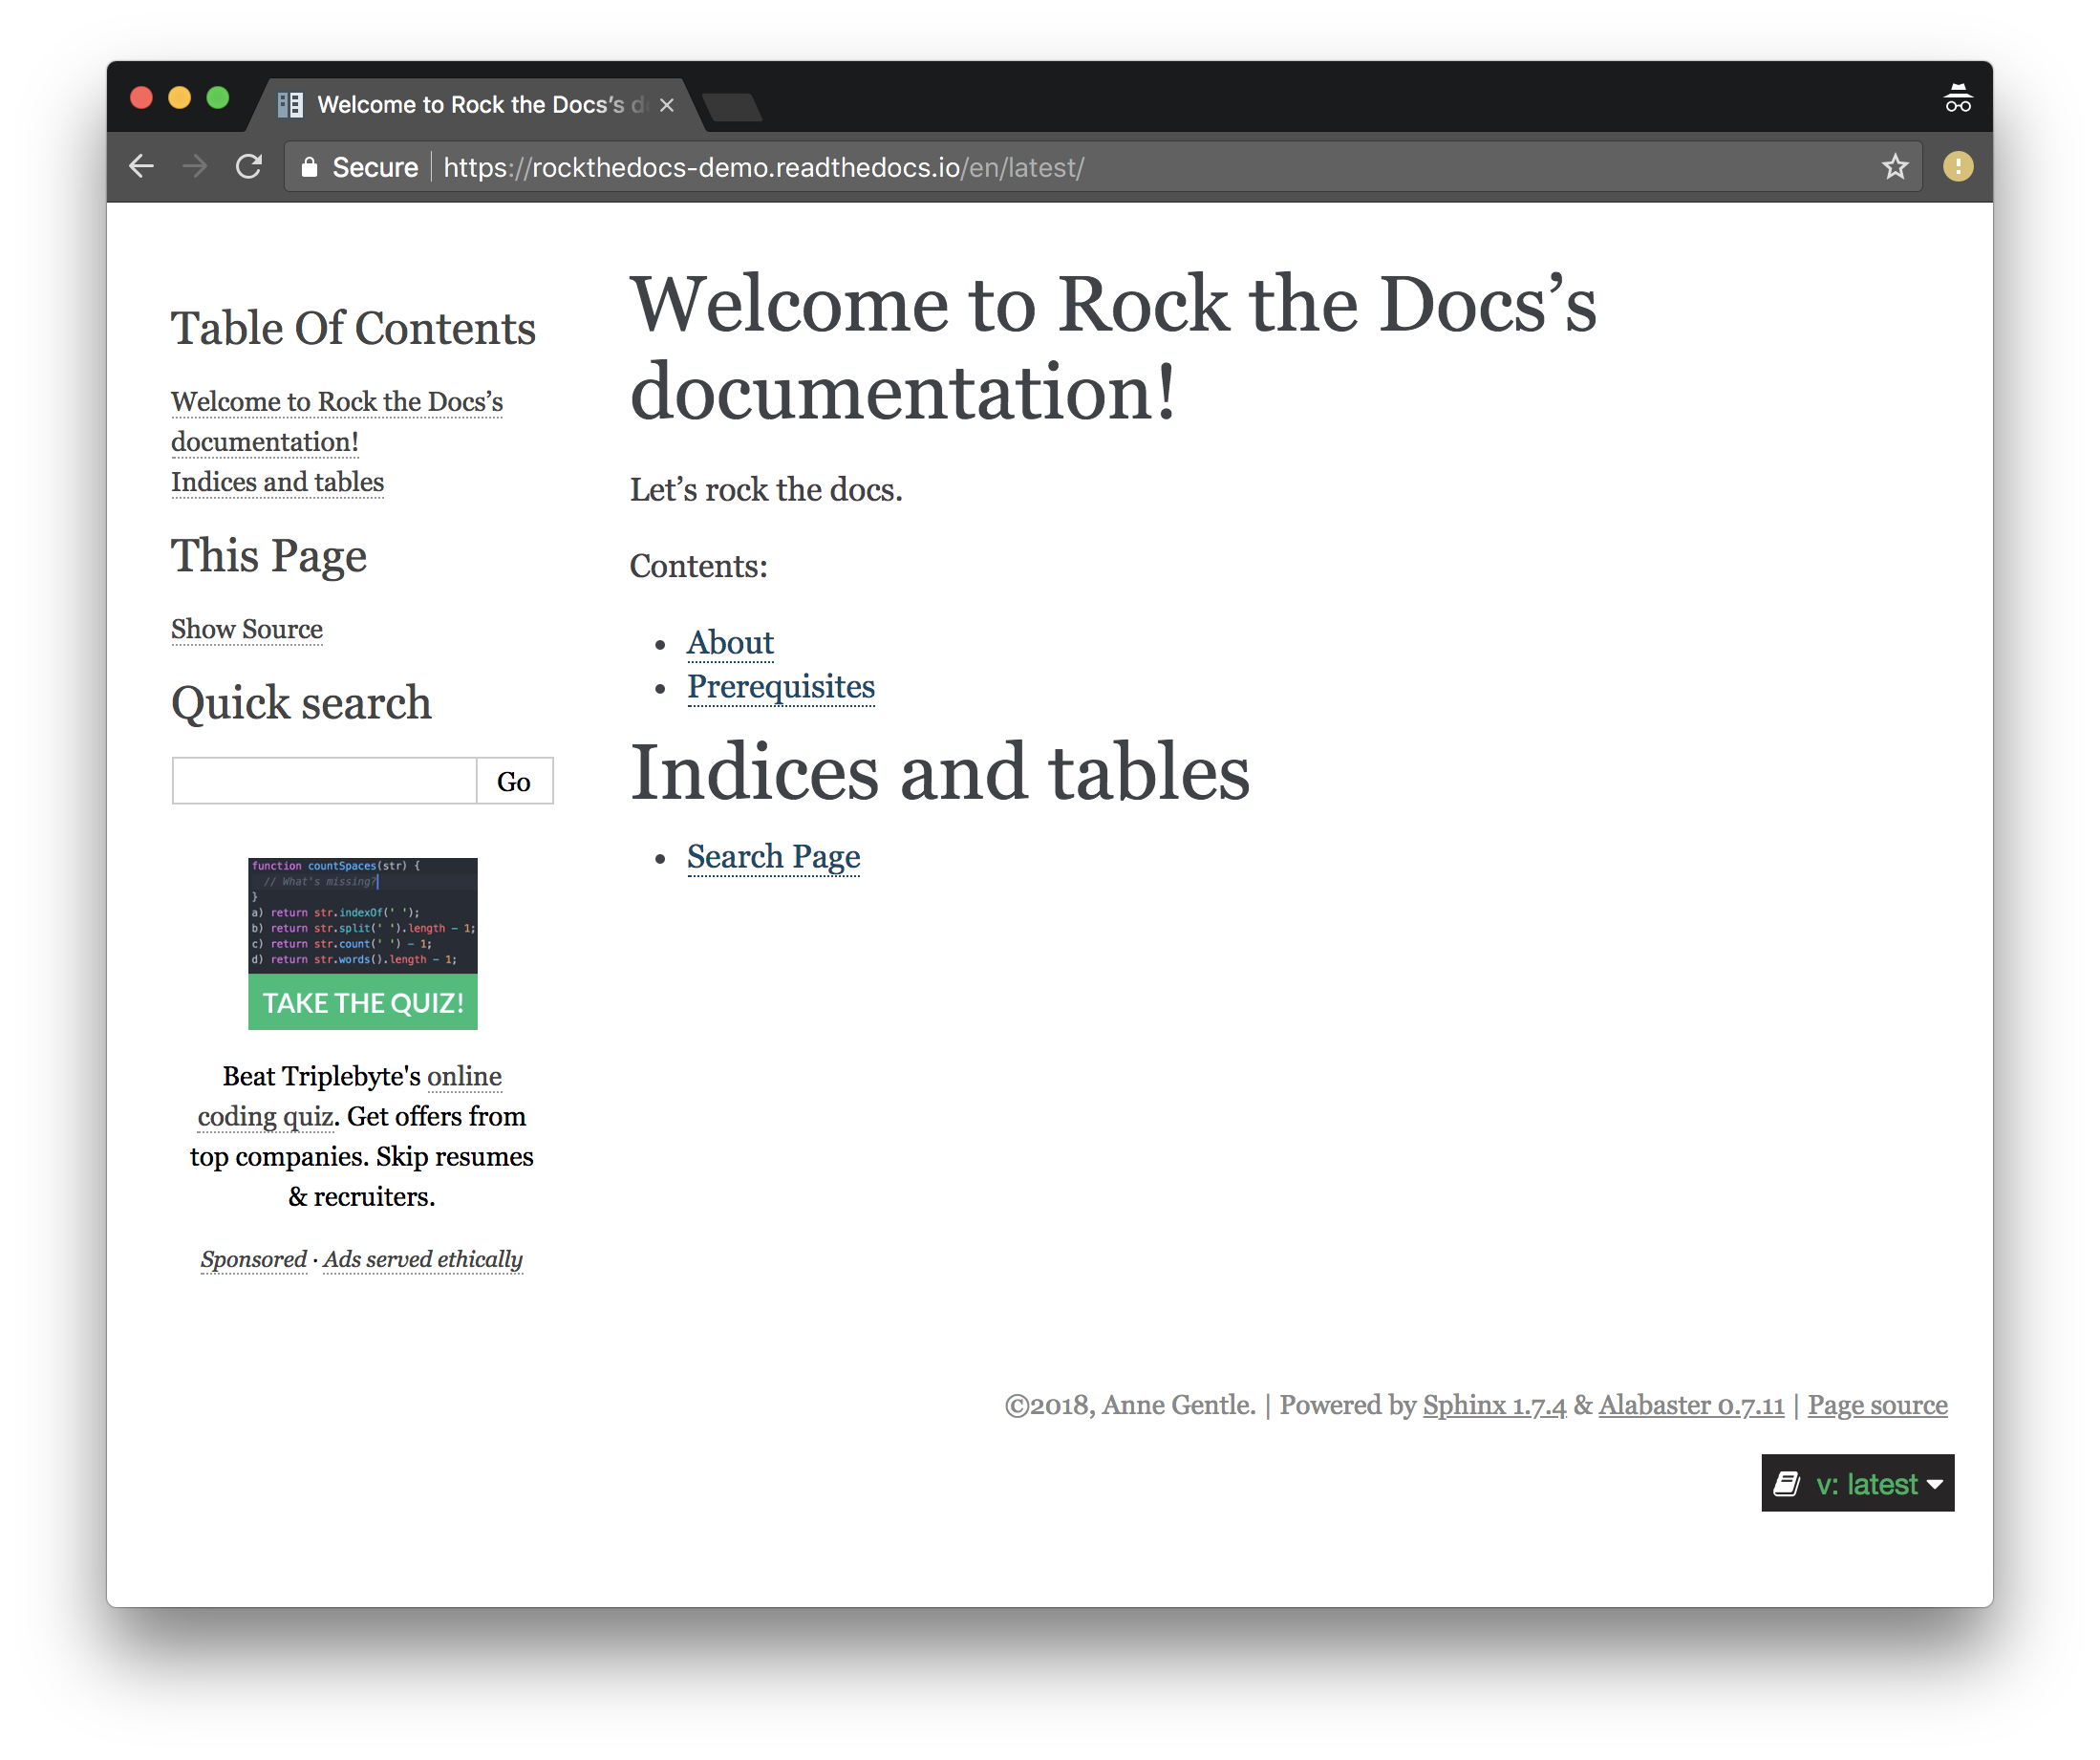
source/index.rstfile to include links to the additional pages. Here is an example:.. toctree:: :maxdepth: 2 :caption: Contents: about.rst prerequisites.rst - Build again to see these changes locally:
$ make html - In your browser, refresh the
build/html/index.htmlpage to see the new Contents with two entries linked.
- Make sure you commit your changes to the Git repository by following the steps in Working with content in GitHub repositories.
What’s next
- Working with content in GitHub repositories
- Continuous Deployment (CD) for Documentation Sites
- Set Up Automated Tests for Docs
Evaluating options
- Evaluating Static Site Generator themes
- Evaluating table layouts and formatting
- Evaluating Static Site Generator search options